making a paper kite banner (step-by-step)
overview
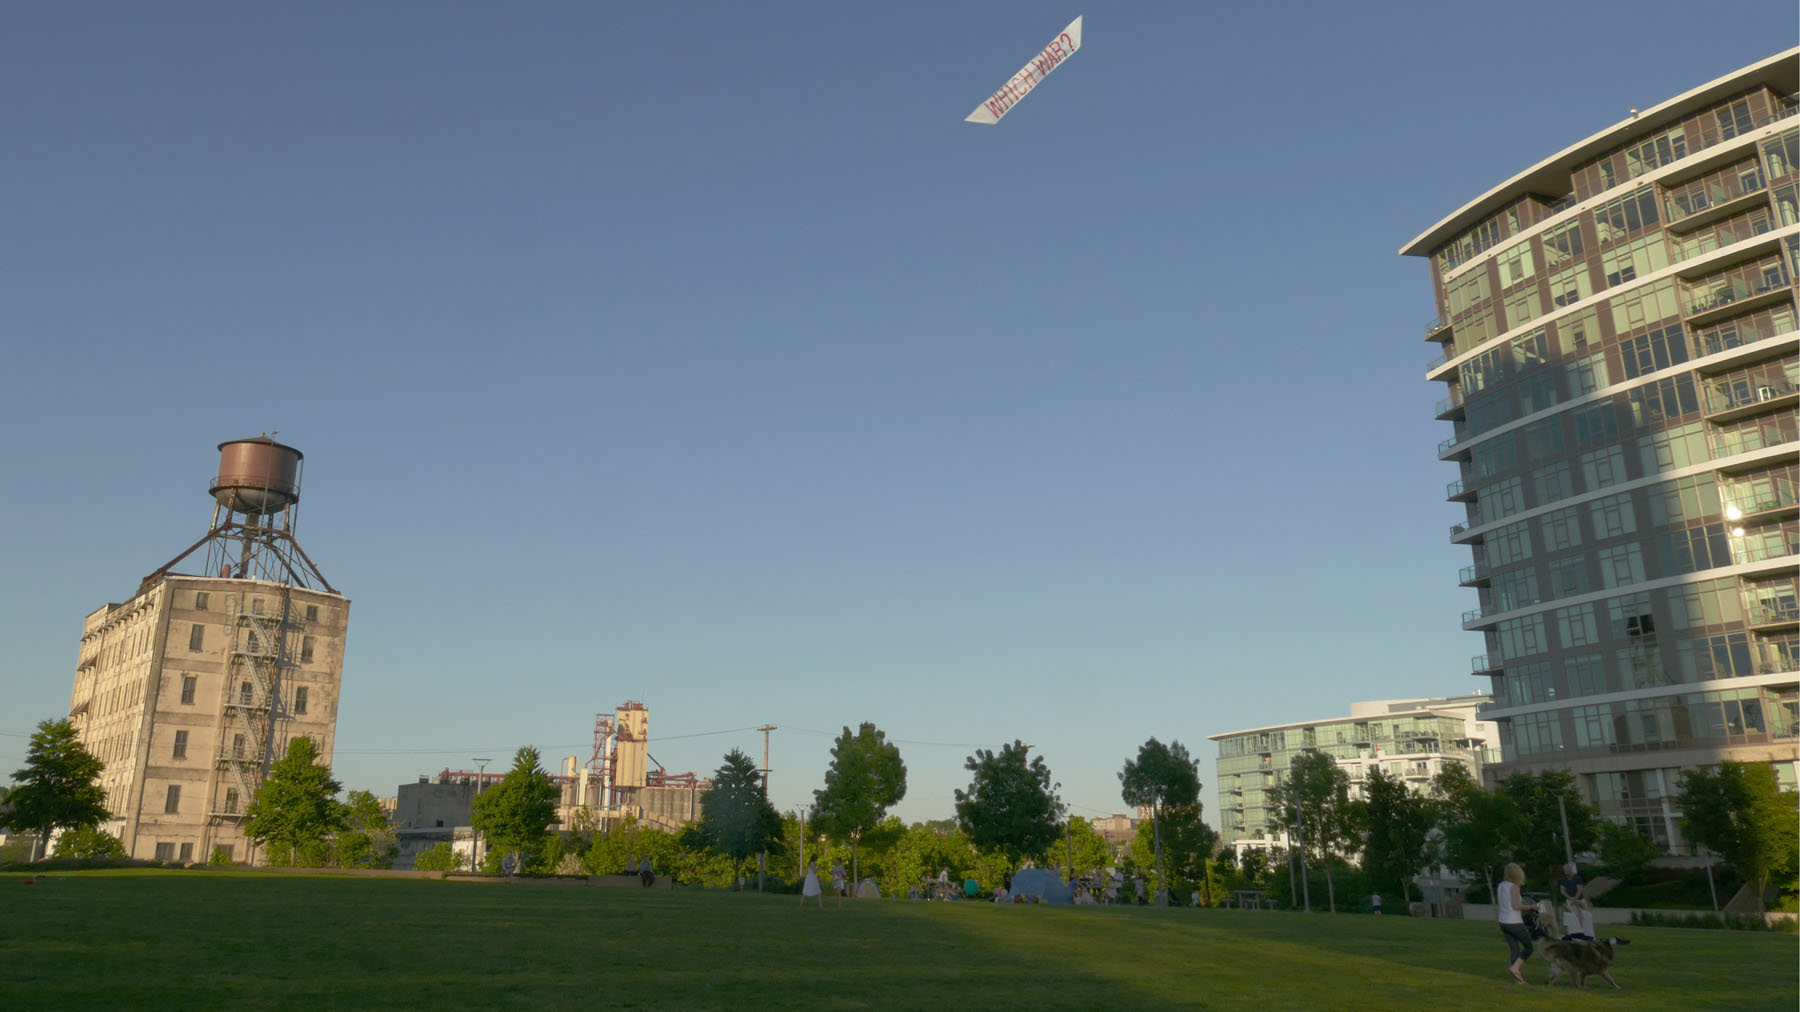
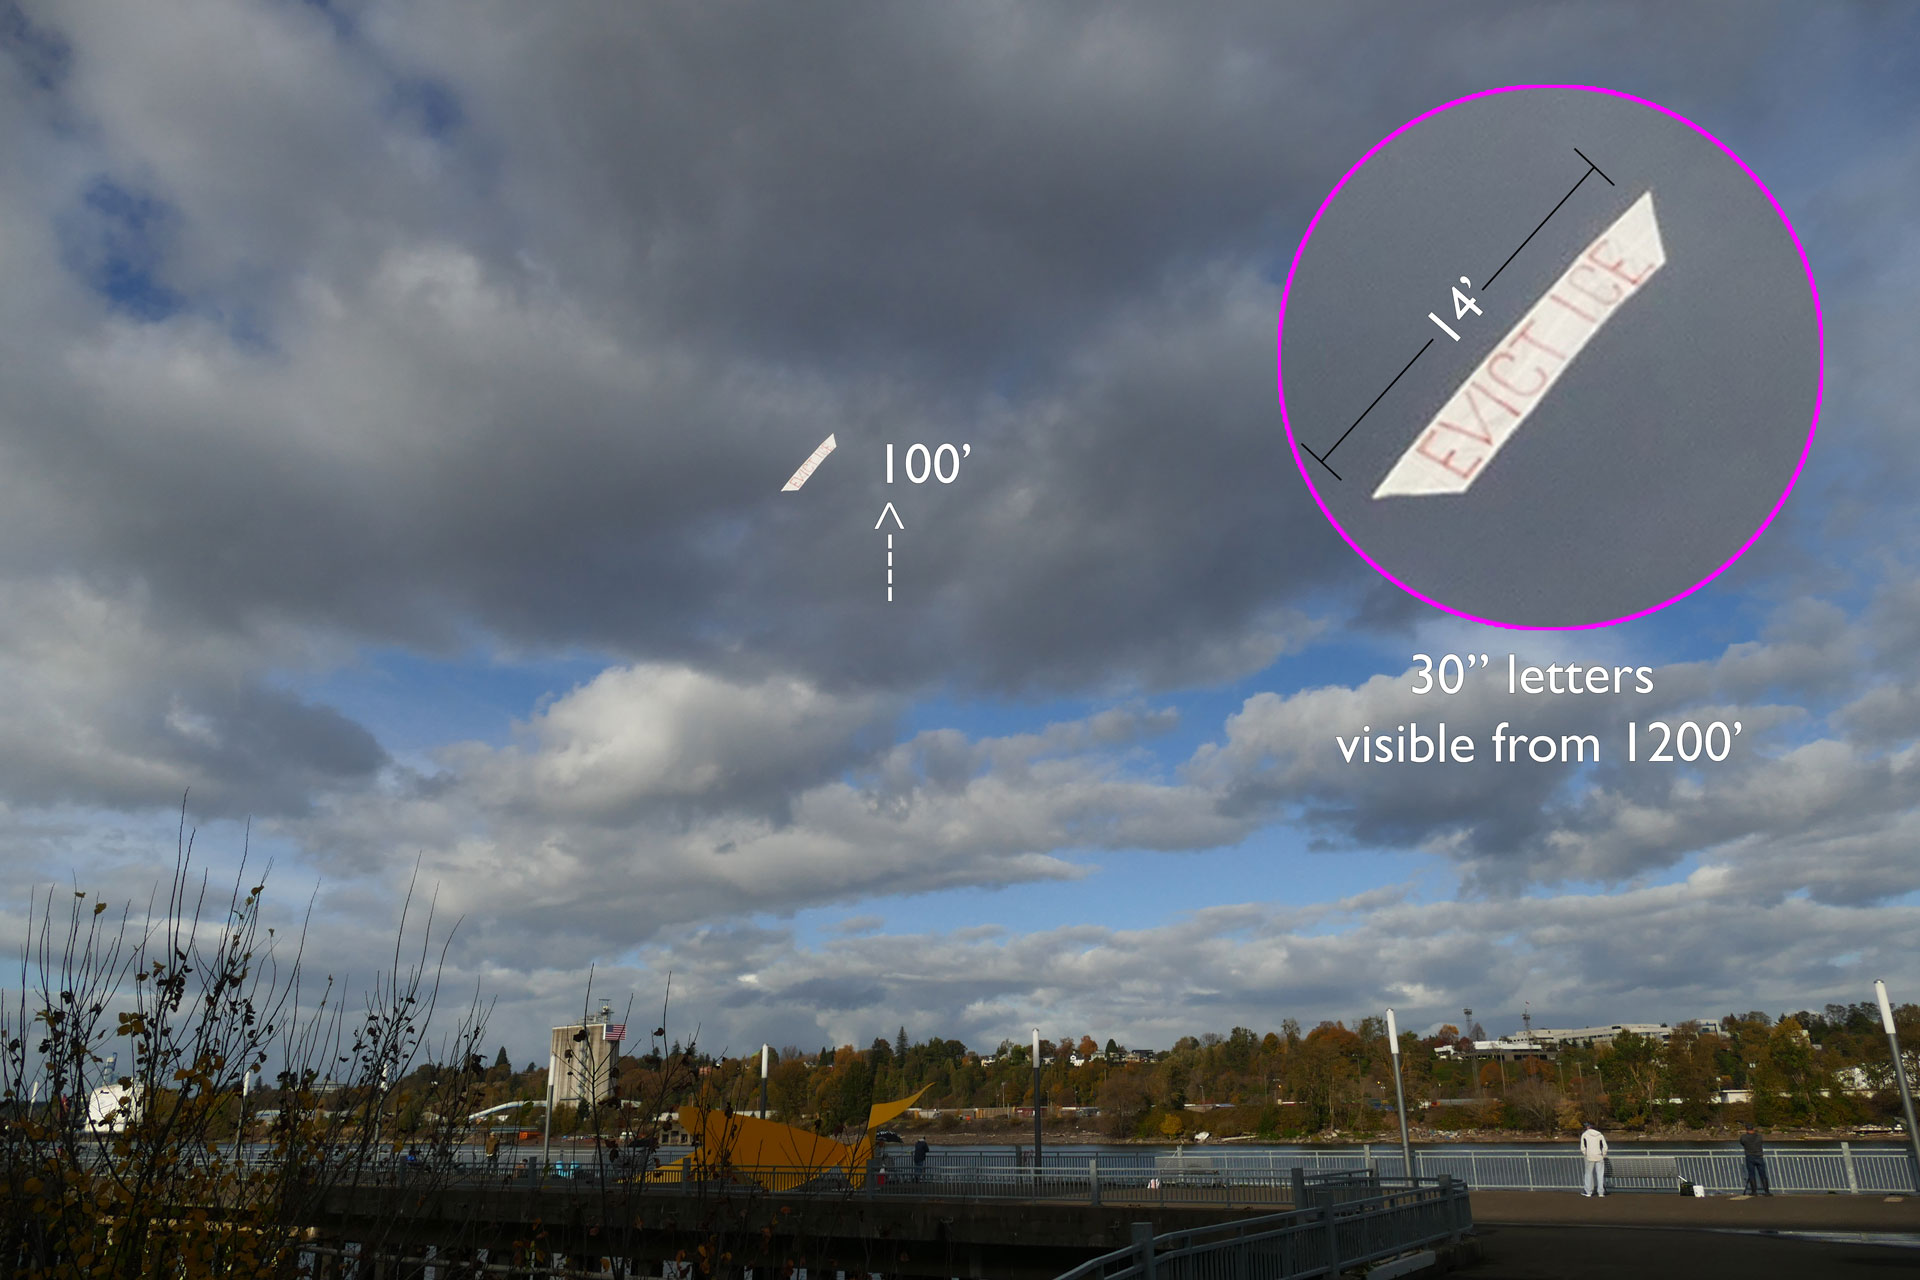
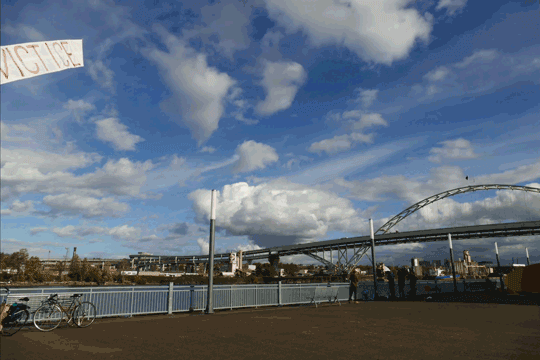
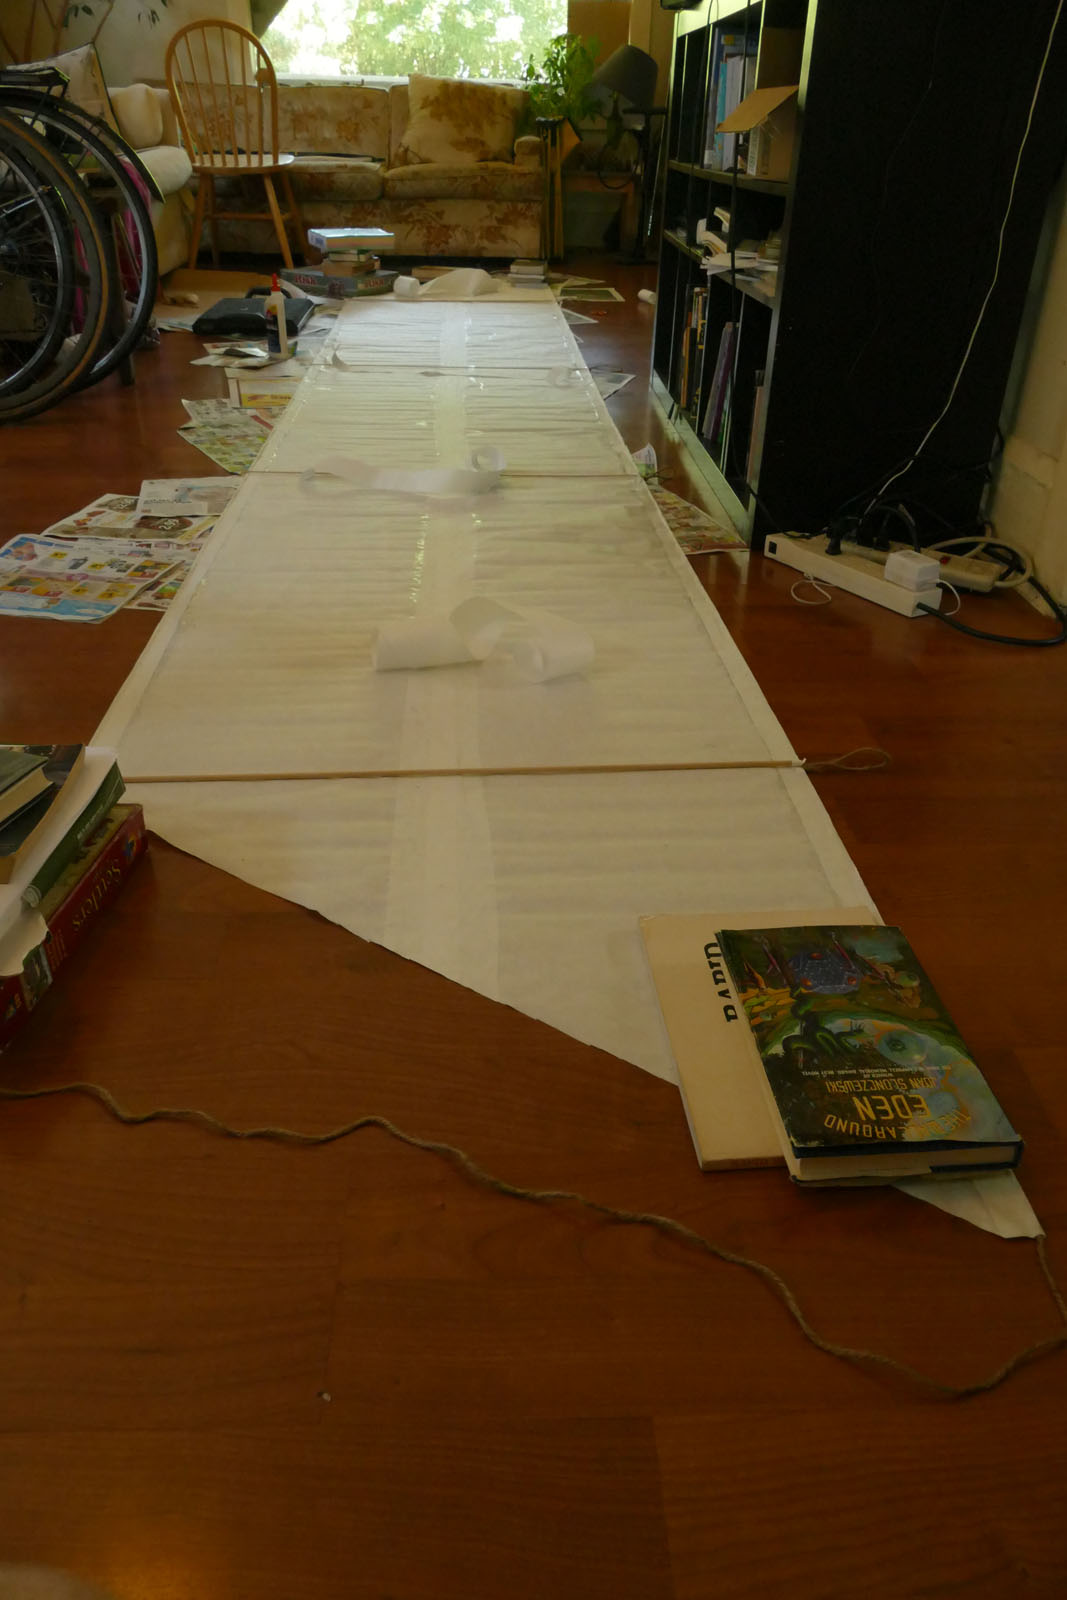
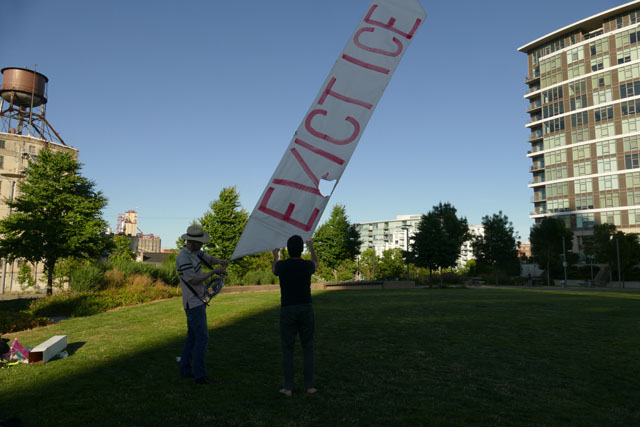
The goal is to create a 34-inch-high sign whose top edge can be attached to a kite line at intervals. This tutorial focuses narrowly on assembly. Read more about my material considerations and development in this post.
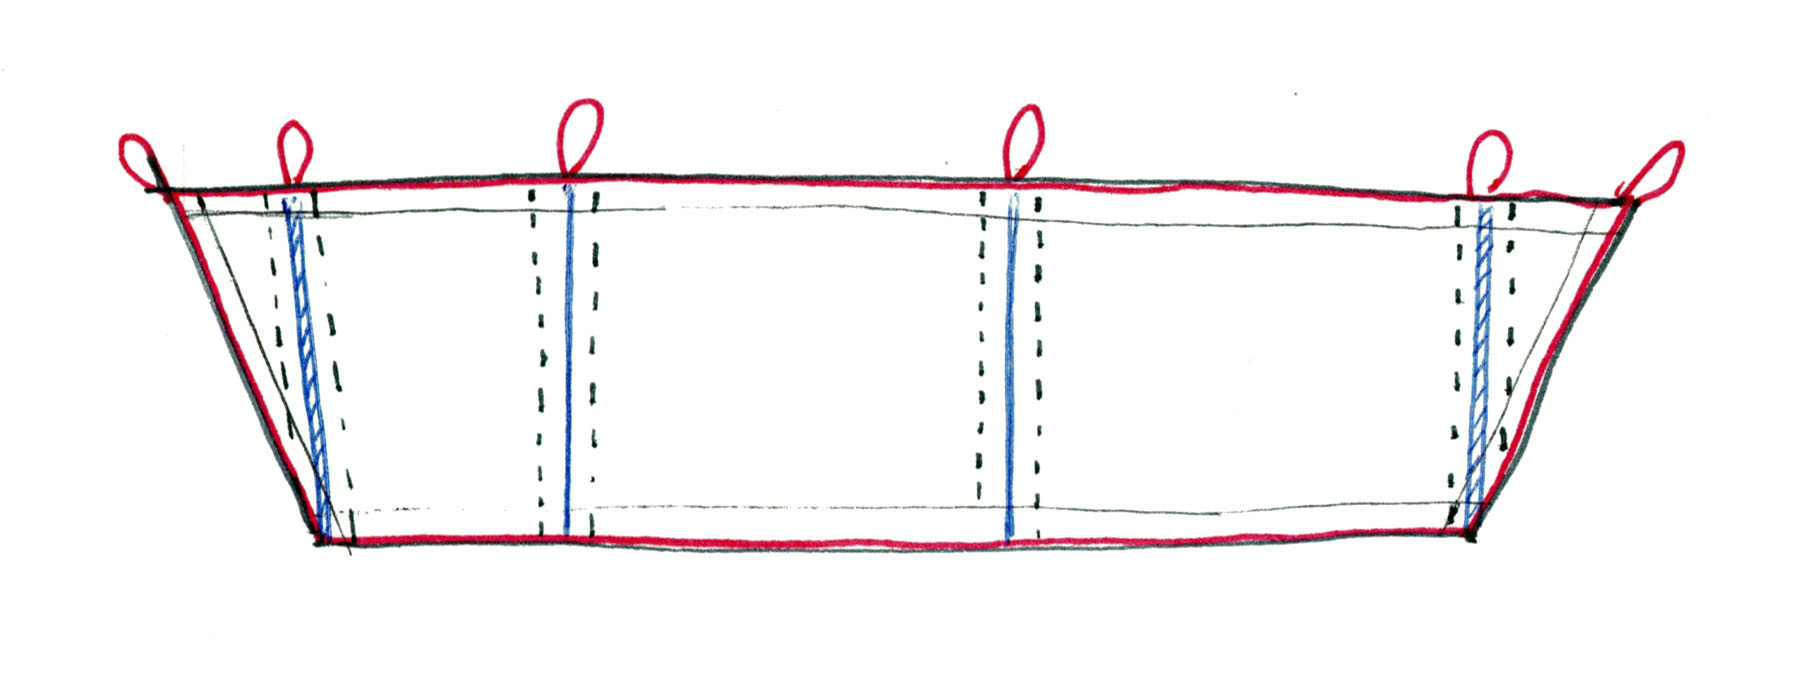
String is glued and folded into the edges of the banner for reinforcement and dowels are used as battens to stretch the paper taught and prevent flapping, which can quickly destroy the banner.
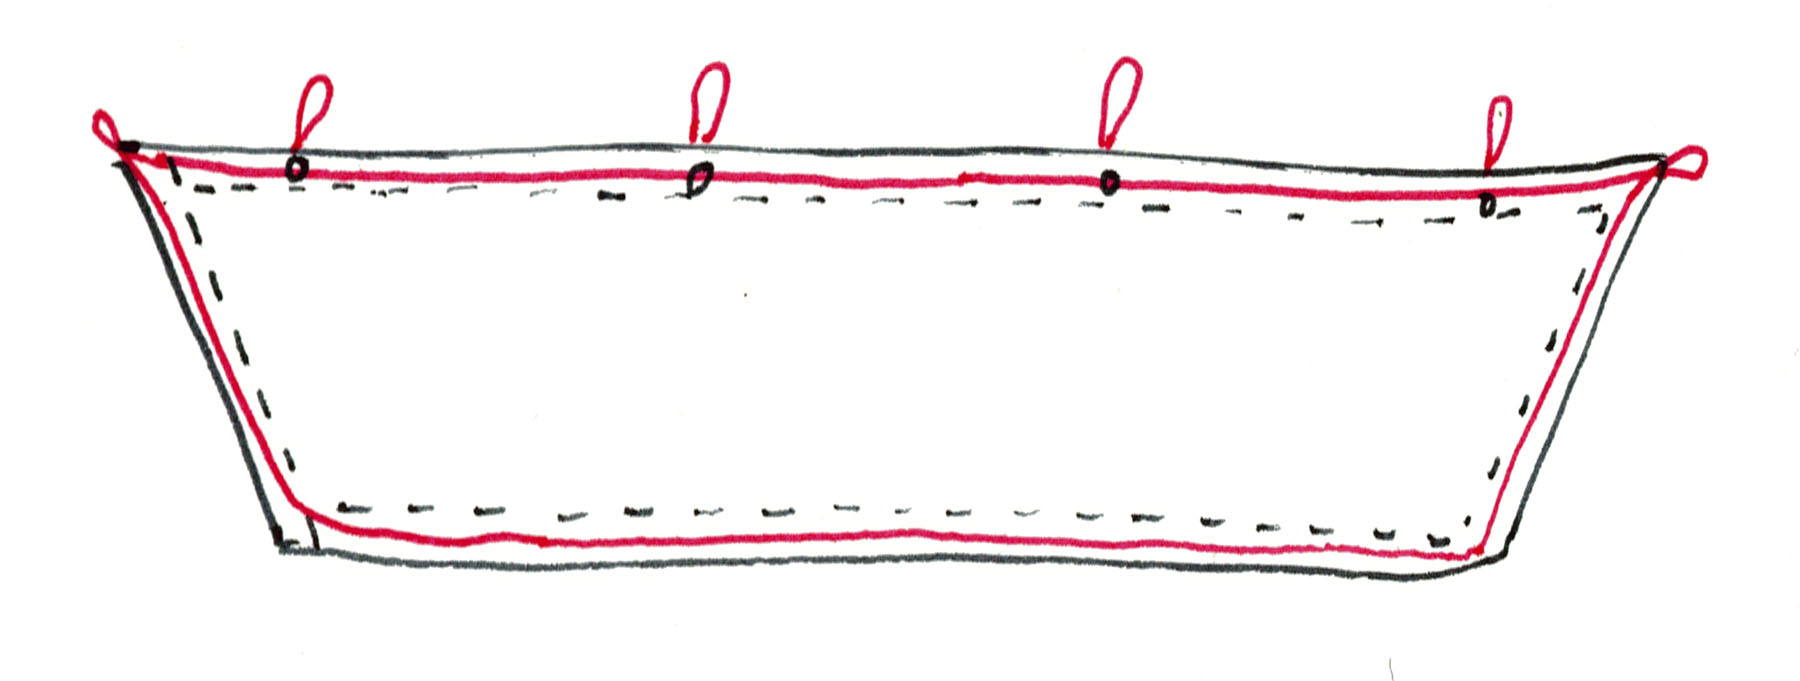
In the diagram below, the paper edges are black, the string is red, dowels are blue, and dotted lines represent reinforcement strips of paper.
Once complete, carabiners are attached to the loops and used to quickly attach and detach the banner from the kite line by wrapping line around the carabiner, a process I call “snap and wrap.”

materials
- Elmer’s glue or other PVA glue
- one 18-inch x 30-foot roll of mulberry paper, such as:
- Aitoh’s Shuji Gami Sumi-E calligraphy paper
- Washi, Shoji or another mulberry (kozo) paper
- five 36-inch x 1/8-inch diameter birch dowels (or bamboo strips)
- two 36-inch x 1/4-inch diameter birch dowels (or bamboo strips)
- 50 feet of jute string 15 pound test or stronger (or another coarse fiber string)
- one large 3-inch carabiner and five small carabiners
- kids tempera paints
- paper tape or masking tape (optional, paper/glue can be used)
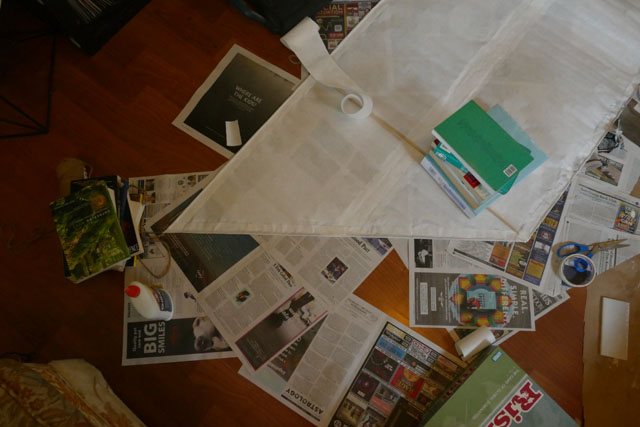
- newspaper to protect surfaces
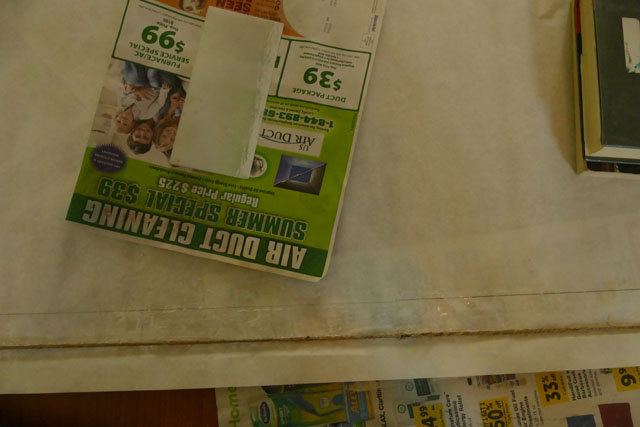
- books/heavy things to hold the string taut
tools
- measuring tape
- ruler/straight edge
- hole punch
- cardboard scraps or plastic spackle knife for spreading glue
- 3-inch paint brush
The stiffer 1/4-inch dowels will be used as battens on either side for strength. The middle dowels can all be 1/8 inches diameter.
Additional 1/8-inch dowels are needed as battens to prevent flapping every 2 feet.
assembly
Cut 4 feet off the end of the roll of shoji paper. Cut this piece into nine 3-inch x 4-foot strips. These strips will be used to hold the banner together and attach the dowels/battens to the banner.
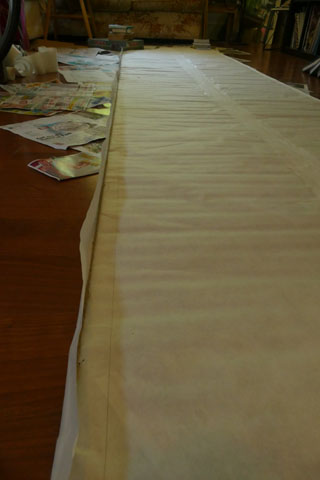
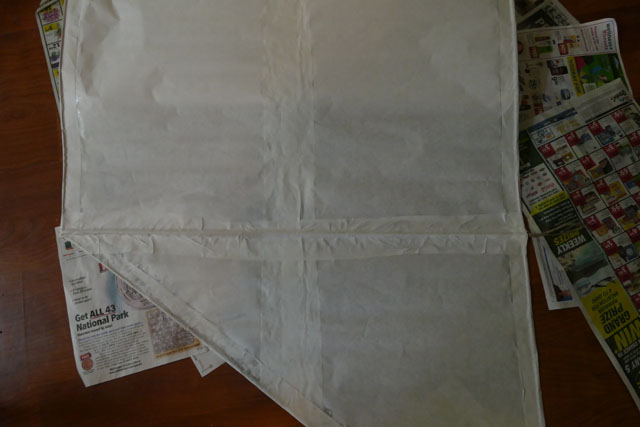
Cut the remaining paper in half length-wise and join down the middle with the 3-inch strips to form a 36-inch-wide piece of paper.
One at a time, spread a thin layer of glue onto the paper strips using cardboard scraps or a spackle knife. Glue strips down the middle of the banner.
While strong when dry, the paper becomes progressively more soggy and fragile as the glue soaks in, so work quickly with each strip.
Place the paper strip quickly. Don’t fidget with with the paper once placed, as it may tear. A few wrinkles are fine, straightening them out is dangerous.

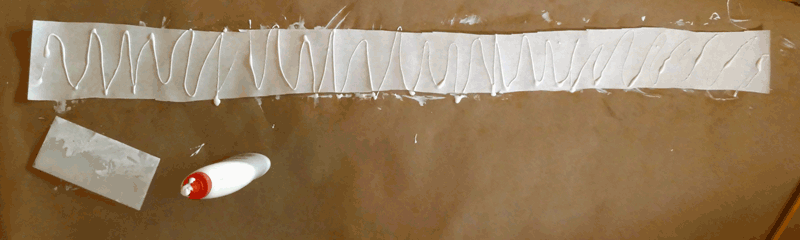
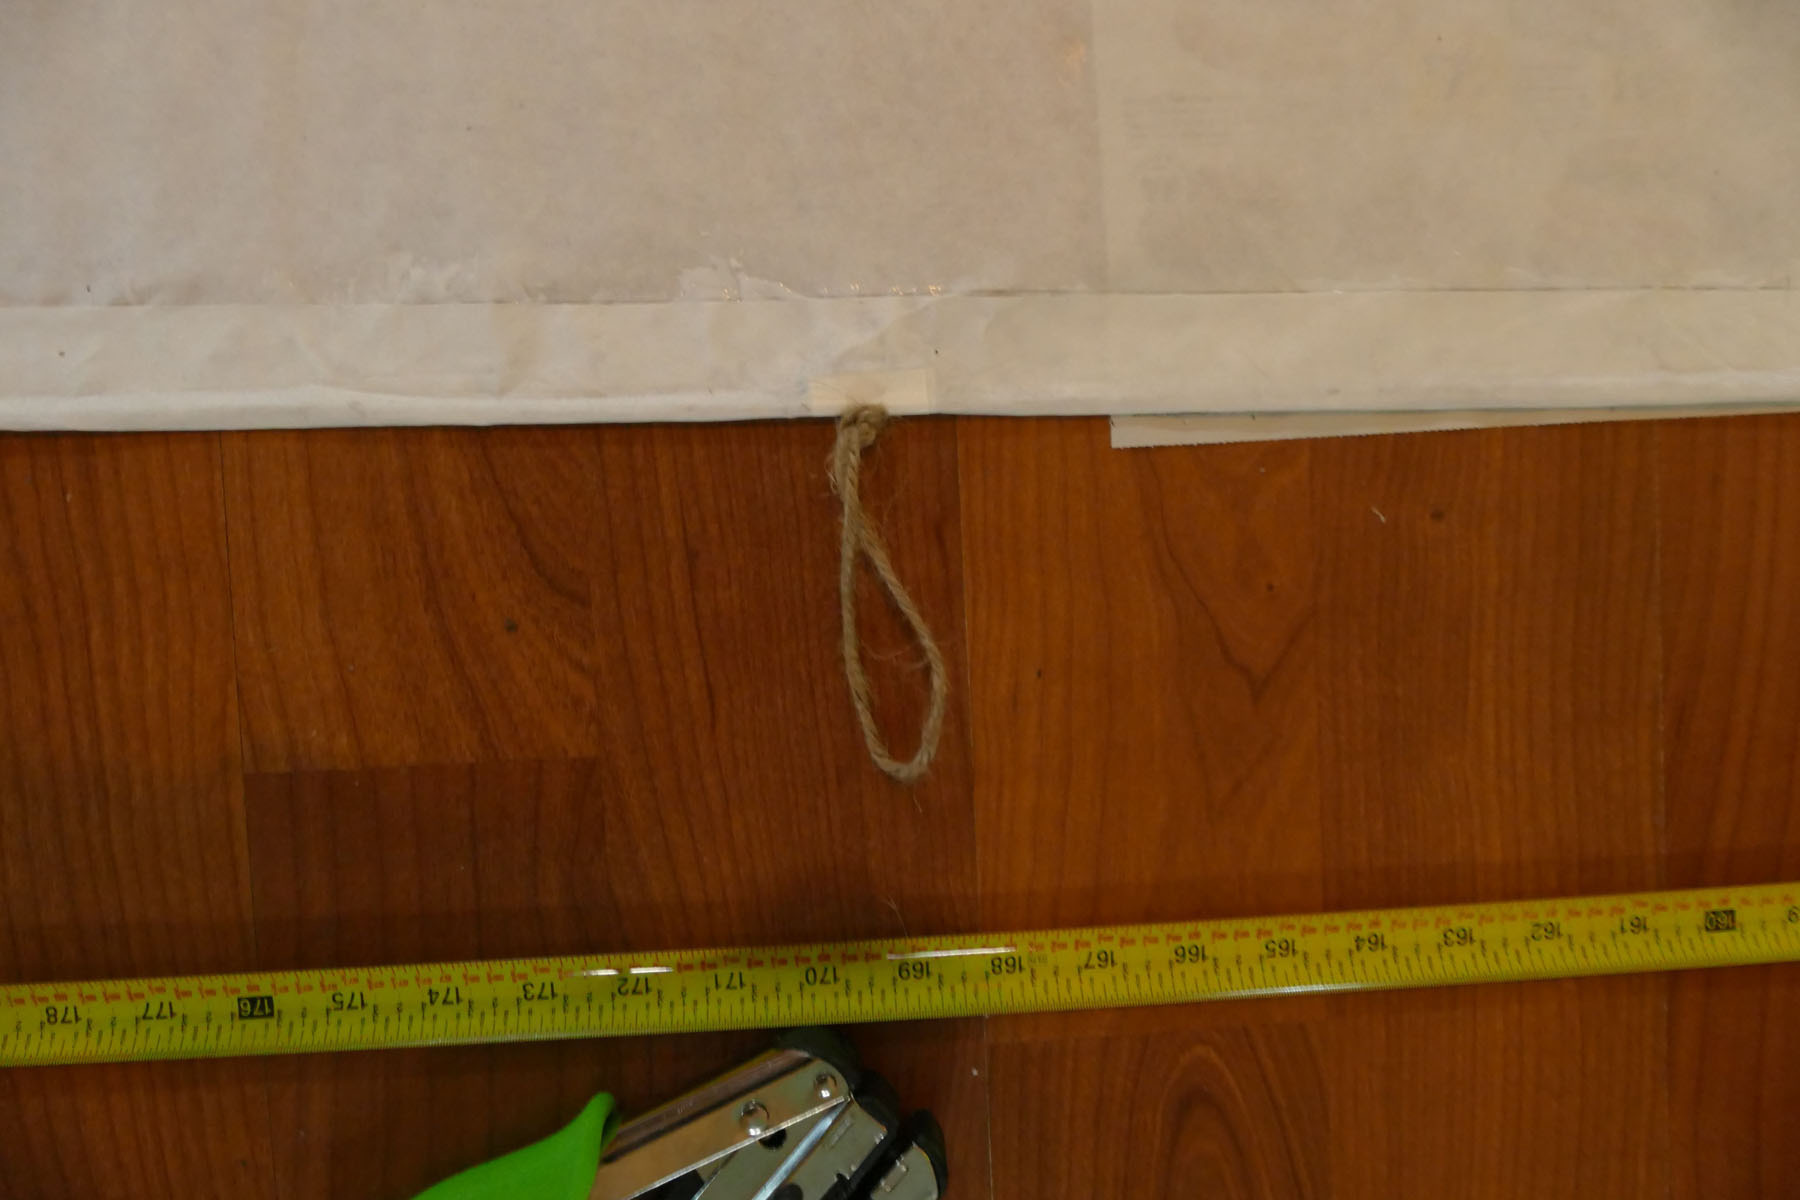
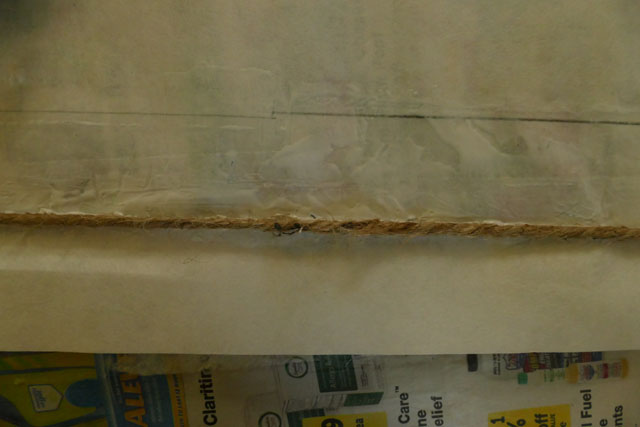
Stretch the jute string along the top edge of the paper 1-2 inches from the edge. Crease the paper along the string. I marked the fold with pencil, but the stretched string is sufficient to hold a straight line.
Tie four loops (using an overhand loop) off along the top of the string at even intervals.
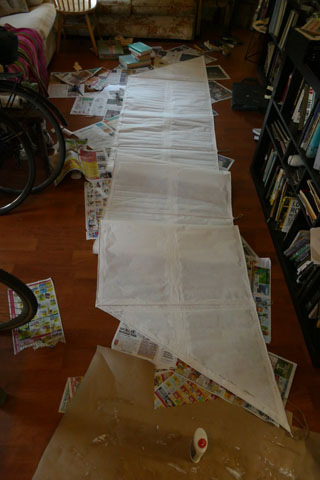
Use the assistance of a friend or books or other heavy objects to hold the string taut. Pre-stretching the string before gluing is important to prevent the string from stretching in flight and ripping the paper.
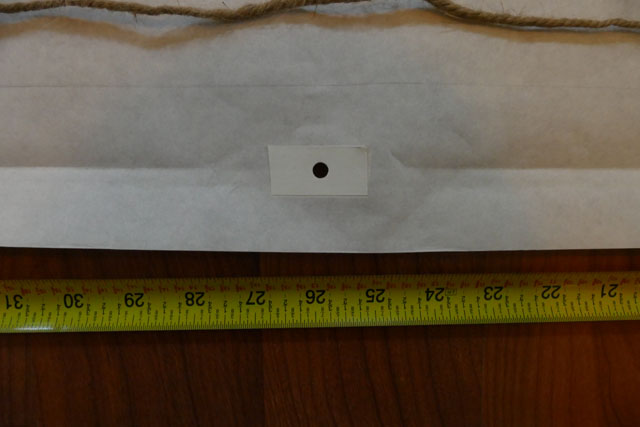
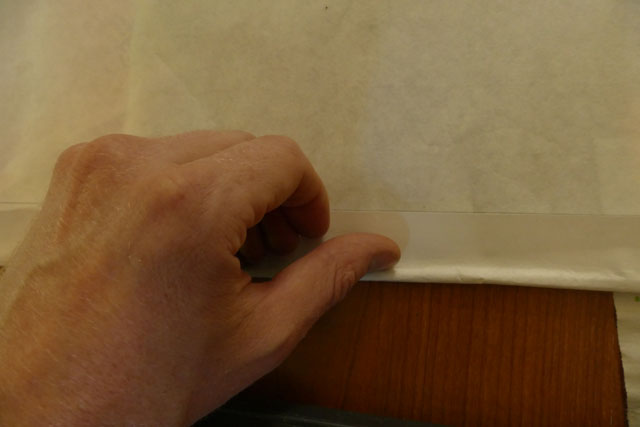
After protecting the paper with a small piece of masking tape (or a double layer of paper and glue), use a hole punch to make holes at the location of the loops. Pull the loop through.
Working a few feet at a time, apply a layer of glue inside the crease and fold the paper over.
Wait at least 20 minutes for the paper to dry and regain strength.
Tie loops at both ends of the sign, tight to the paper.
Using string as a rough guide, cut triangles out of both sides of the sign. Save these triangles. The paper can be used to make extra reinforcing and repair strips.

Stretch string along the bottom of the sign.
Fold the paper around the string to get a crease.
Apply glue and press in place, gluing the bottom and sides.
You should now have a sign with string glued all the way around the edge.
The next step is to place the dowels/battens and glue strips of paper down to hold them in place.
wrap the batten’s tips in masking tape (paper and glue), leaving 1-2 inches of tape hanging over the edge. when the batten is placed, this wrapped end will be folded over the edge and glued in place on both sides with a small bit of paper.
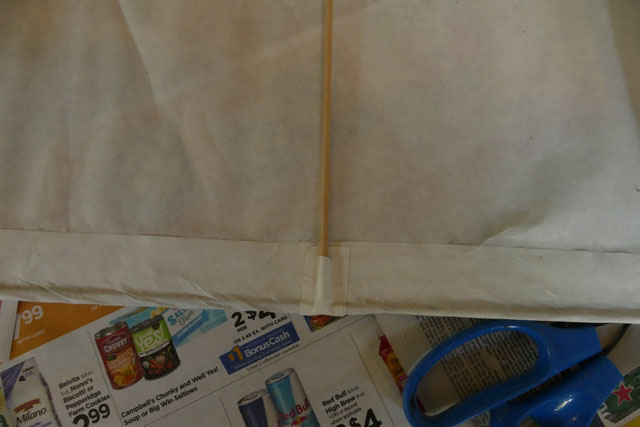
Apply glue to a strip of paper and glue down the batten along its length.
After repeating for each batten, you should now have a complete paper sign, ready to paint. Congratulations!
painting the sign
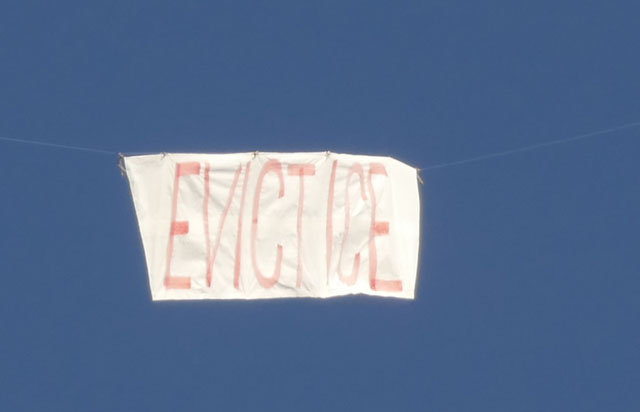
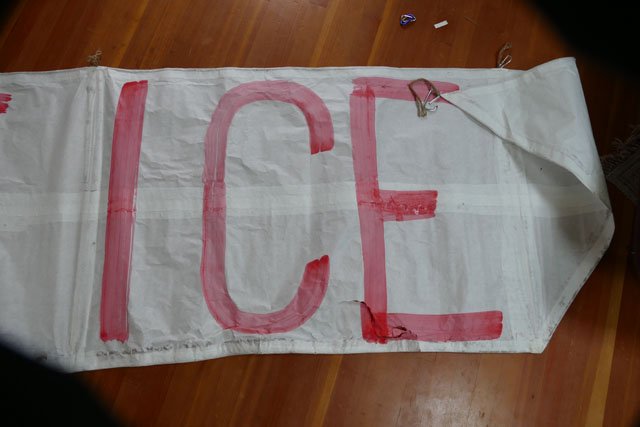
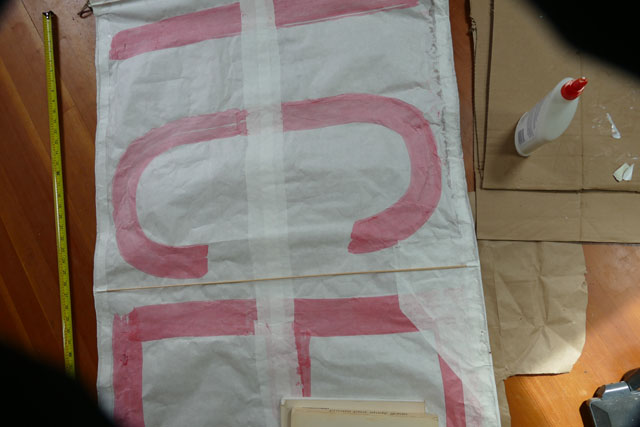
The letters will be most visible if they stain through the paper, like ink. To do this, water down tempera paint and test this color on some scraps.
The watery ink weakens the paper and can’t be fussed with. bold, continuous strokes create the best results. I use a brush as wide as the letters should be.
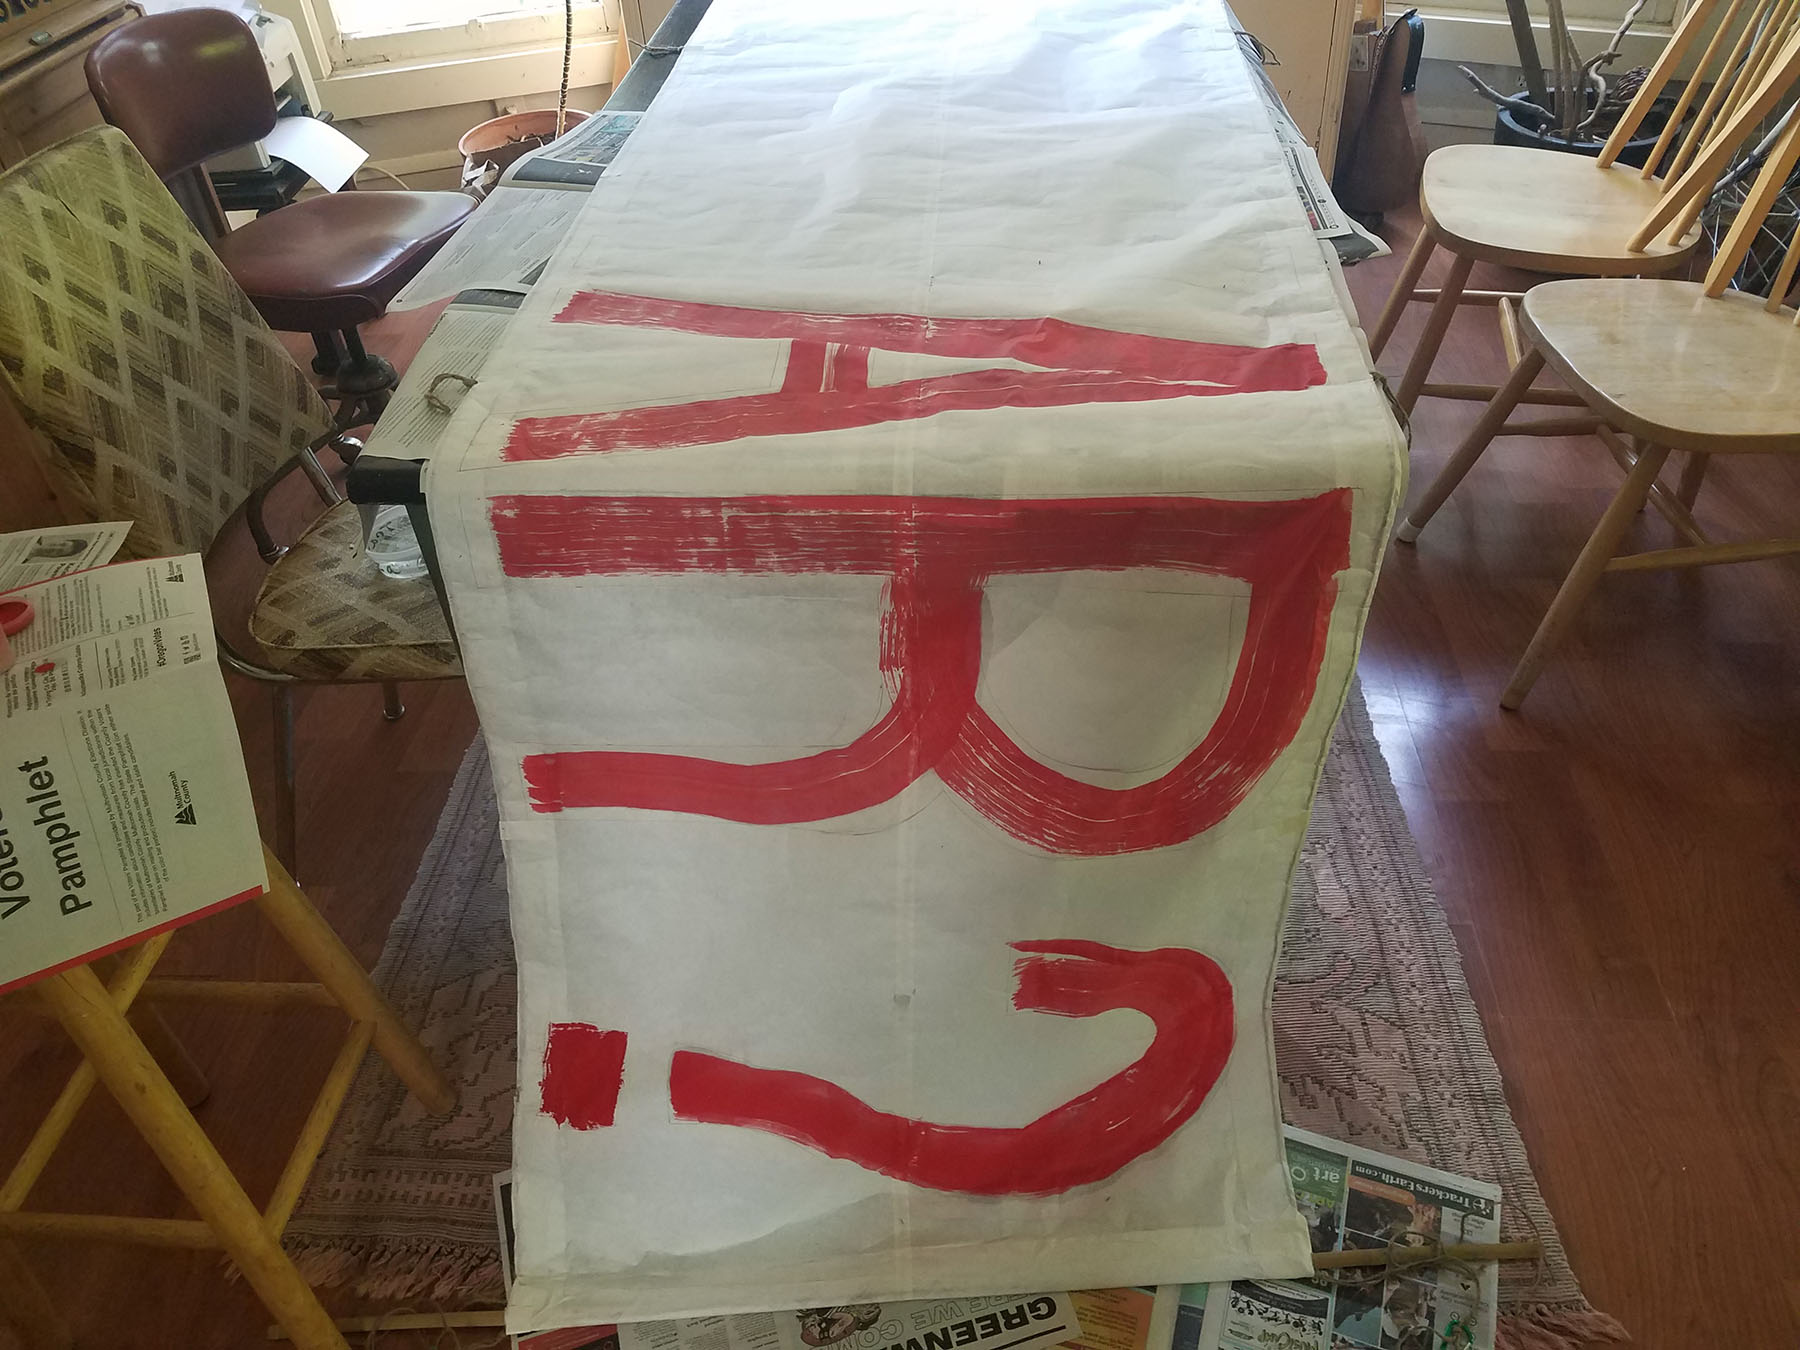
letters are painted like caligraphy: quickly in a single stroke.
reparing the banner
Paper tears, but it is easy to patch. Cut a piece of paper larger than the rip and glue it on the back side of the banner.
In this case, I not only added a paper reinforcement, I added an additional batten to prevent the flapping that caused the rip:
thanks
Much thanks to my friends who helped me put this together. Jack Lewis for space and paint brushes, and Jayne Meacham for assistance in assembling the first sign and for taking many of the in-flight pictures.